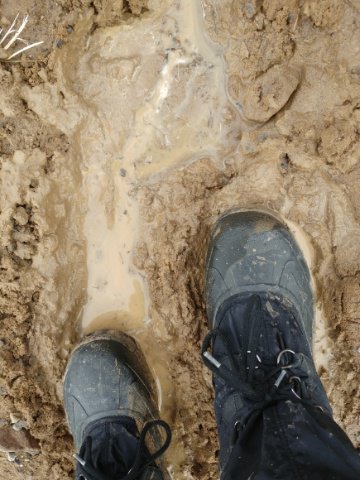
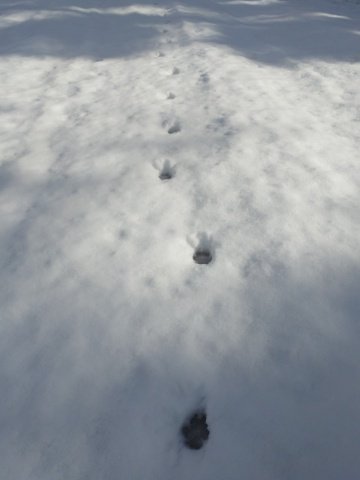
I finally got in a 2 mile walk/hike. The kids are at their grandparents’ so I took advantage of not having tagalongs and got in a muscle straining, knee aching walk in the hills near our house. Gaining 300ft in elevation in just over half a mile, and then having to come back down that, can be hard on the knees. But it’s also good training. Especially when you don’t stop every couple hundred feel because the 6 year old is “tired” or wants to follow the coyote tracks.
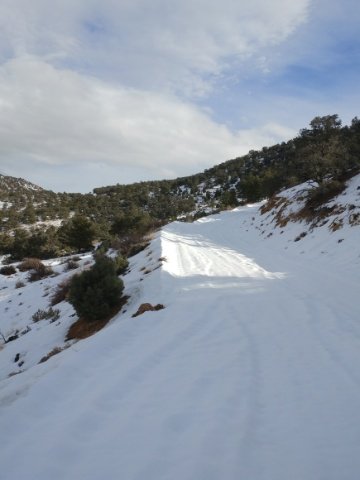
You can’t see it in a picture, of course, but the wind was blowing pretty hard today, so even though the temperature outside was up to nearly 50° (quickly melting off the 3 inches of snow we got last night), I started out my hike all bundled up, even though I knew better. As I stripped off layer after layer, it got me thinking about how to stay comfortable while hiking when the temperatures are chilly. Thus this post. But there are a bagillion posts out there about what to wear, so I’m just going to go through that really quick and then get into some of the actions you can take to keep comfortable when it’s cold out.
How to Dress for Hiking when the Temps are Chilly
The short answer is: layers!
You’ll want to wear/bring different layers in order to stay comfortable.
Layer 1: base layer
This is the layer closest to your skin (other than under garments) and should be made of a good wicking, fast drying, thin material. When it’s cold out, you do NOT want cotton.
Layer 2: insulation
This “layer” could actually consist of several layers and it’s where most of the warmth comes from. A couple different thicknesses of fleece sweatshirts and/or jackets, vests, etc. will usually fit the bill.
Layer 3: shell
This is the layer that protects you from the elements should they turn nasty. Wind proof, water repellent, etc.
Layer 4: extras
This is things like gloves, a hat, extra socks, etc
Now here’s the thing, if you’re going for a quick walk around your neighborhood or the local nature trail, or even up the logging road behind your house, you can get away with wearing pretty much anything you want. If you get too hot or too cold, well, you’re not that far from home and can get fixed up in a jiffy.
But if you’ll be out for several hours, and especially several days, you don’t want to be miserable, so wear the appropriate layers.
What to DO to stay warm and comfortable while hiking in chilly weather
So here’s the real meat of the issue. We’ve all heard it before, “Layers, layers, layers!”
But it’s what you DO with those layers and how you use them that, as well as a few other actions on the trail, that will help keep you comfortable.
Tip #1: dress according to your expected exertion level
I’m sure we’ve all seen them. The joggers in the neighborhoods or on the trails who are wearing shorts and a t-shirt while the rest of us are shivering in our puffy jackets as we stroll along. It all has to do with exertion.
I said earlier that I “knew better” than to bundle up for the walk. I knew I’d be walking uphill at a fast pace (well faster than usual since no kids were around to slow me down). But I decided to keep on all the layers I was wearing. Which meant that just a short while into the walk, I needed to start taking those layers off. It would have been better had I started out with one or two less layers. I might have been a bit chilly to begin with, but my exertion level would have warmed me up quickly.
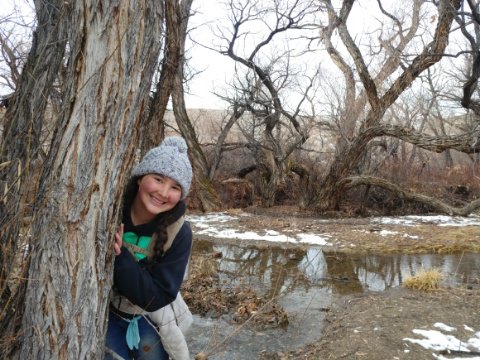
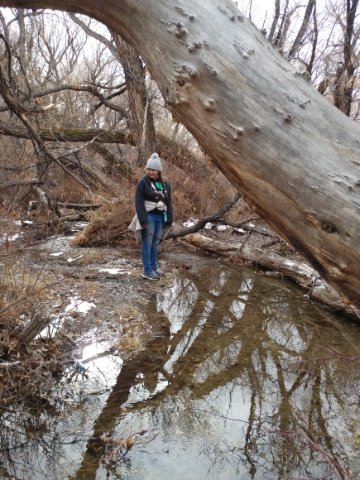
Last week when I took my daughters and nieces on a short hike, I knew we would not be walking fast enough to keep me warm, so I wore all my layers (plus had an extra in my pack just in case). Sure enough, I never even took off my hat (usually the first thing to come off when I warm up) that whole trip.
On that same trip, while we were all bundled up, there was a gal out trail running. She was wearing a thin, long sleeve shirt and yoga pants. No other layers of clothes even tied around her waist. She knew when she started out that her jogging would keep her warm.
Tip #2: avoid sweating
Sweat (or any water really) is the great enemy when the temperature is cold out. When you sweat, your clothes get wet and that can mean you get chilled, real fast!
Today, as I trudged up that steep snowy road, I quickly realized I had dressed too warmly as I began to sweat. So I took off a layer. That was ok for a little while, but then I needed to take off another layer. At that point I was wearing a long sleeve, thin polyester base layer shirt, and my insulated work pants. Those pants were waaaay too hot! I would have been much happier with thinner pants. Thus where layers come in, rather than one thick layer. If I had been wearing a couple layers of pants, I would have taken a layer off and been much more comfortable.
As it was, I was close to home, so no worries. And the wind kicked up a bit more and cut right through my thin layer of shirt, cooling me down considerably. And drying the sweat. If I had stayed out much longer, I would have needed to put one of my layers back on. But I probably would have switched it up, putting on just my puffy vest and not my sweatshirt.
By having varying thicknesses and types of layers, you can choose the combination that keeps you warm but not sweating.
Tip #3: bundle up as soon as you stop (or start feeling cold again)
When you stop to rest, it’s usually a good idea to put on one (or more) of those layers that you shed while hiking. When your activity level drops, it easy to almost immediately get too chilled.
Tip #4: use the “extras” when it may not seem intuitive
We usually think of putting on hats and gloves as the final layer after everything else, and often they are. However, they can also be used in conjunction with some of your thinner layers to add some warmth while still letting your core breathe.
It’s not unusual to see hikers wearing a hat and gloves along with a t-shirt or thin, long sleeve base shirt. Keeping your hands warm or your ears from freezing but still keeping your core temperature down (thus less sweating) means doing things a bit unconventional every now and then.
Tip #5: change into dry clothes when needed
Sometimes, despite our best effort, our clothes can become wet. Whether from sweat or rain or snow, or even falling in a creek, wet clothes can literally be a killer if you are in the wilderness for an extended period in cold weather. So, if you’ve done your best, but your clothes have still gotten wet, it is best to get out of them and into dry clothes when you stop, before you get too chilled. Having an extra layer or two in your pack can be the difference between a miserable hike and a comfortable one.
What are some other tips you have to stay comfortable while hiking when the weather is chilly? I’d love to hear them.
Happy hiking!
-MammaBear
Update: I made a video about my layering system the other day. Go check it out on my Youtube channel. https://youtu.be/GTqaP3R74GA